Has your refrigerator been malfunctioning lately? Does the internal temperature of your refrigerator not feel cold enough like it used to? Well, one of the common reasons behind this could be blocked air vents.
Every refrigerator includes air vents for proper ventilation and smooth airflow in and out of the fridge. However, you are not regularly cleaning out air vents. In that case, your refrigerator will slowly decay and shed much money out of your pockets towards unnecessary and frequent servicing and repairing.
Therefore, giving your refrigerator a thorough deep-down cleaning once every three months is an absolute must – especially for those air vents. Now, before we can guide you on how to clean air vents in refrigerator, you must learn how to locate them first.
Table Of Contents

Where Are Air Vents on Refrigerator?
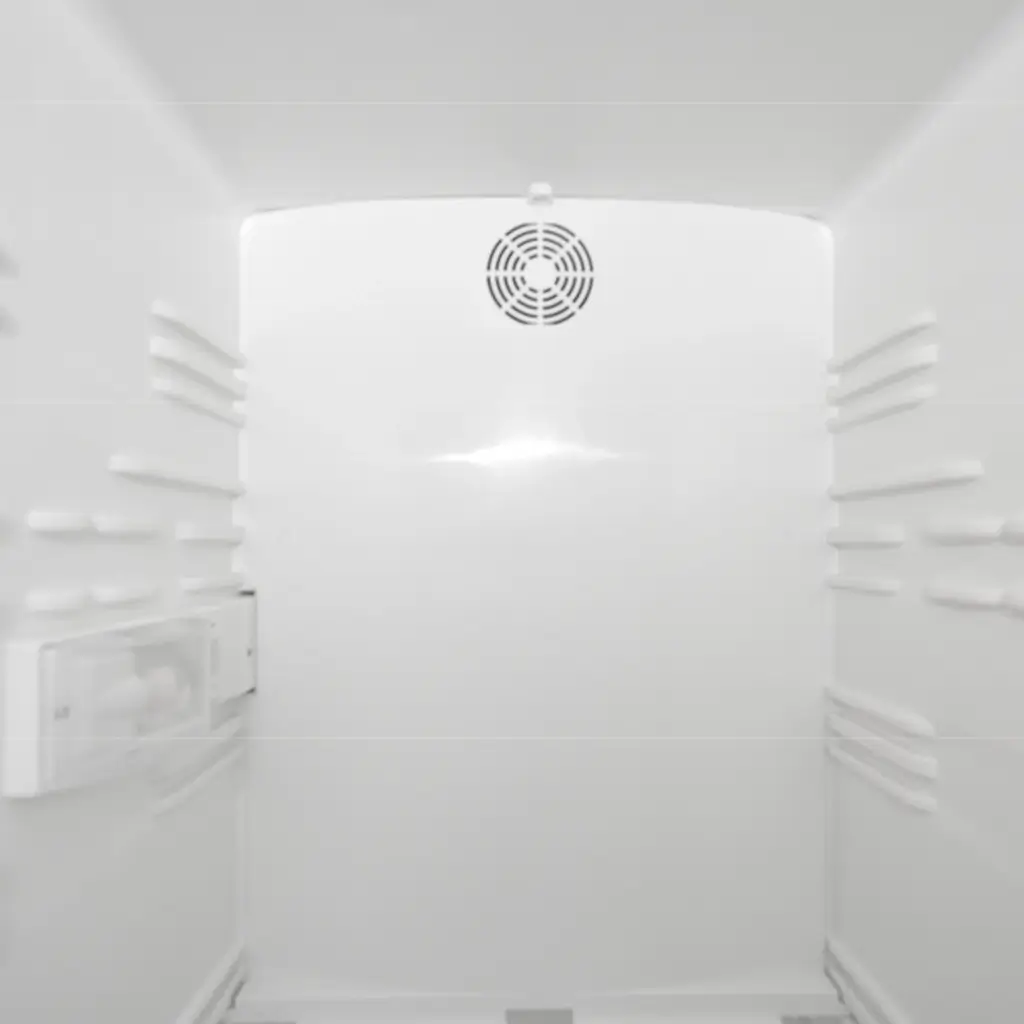
There’s no precise location of the air ducts or the air vents; it varies from brand to brand and model to model. Most of the latest refrigerator models have air vents in multiple spots along the back surface, especially in cooling coil areas, and are not limited to one location.
For instance, a typical regular-sized refrigerator with no freezer compartment or ice maker will likely have air vents at the back of the refrigerator towards the bottom.
On the other hand, refrigerators with a connected freezer compartment are likely to have air vents at the rear surface along the area between the refrigerator and freezer.
Furthermore, most French Door-style refrigerators with reputed brands like LG and Whirlpool feature air vents on the left side of the refrigerator rear, often in a spot connected to the vents on the side of the ice maker.
If you’re still confused and can’t figure out where the air vents are on your refrigerator model, you can check in the manufacturer’s user manual guide. You may also find a diagram or text information on the locations of different refrigerator compartments on the manufacturer’s official website.
Why Is It Important to Clean the Air Vents in Refrigerator?
In most of the cases that we have seen, fridge owners who neglect cleaning and regular maintenance eventually end up shortening their refrigerator lifespan and with blocked air vents.
This is because air vents are a perfect breeding place for bacteria and fungi; unless the air vents are thoroughly cleaned occasionally, the areas can get mouldy over time – eventually spreading into your foods and making you fall sick because of food poisoning.
If these vents are covered in dust, dirt particles, or debris, air circulation in and out of the fridge will be hampered. Warm air will keep accumulating inside with no way out to disperse out of the fridge since the vents are blocked.
Consequently, because of a build-up of moisture inside, it will take longer for your refrigerator to get to the right optimal temperature for protecting the perishable foods. This also means that your refrigerator’s compressor has to work overtime and more vigorously now to regulate the temperature issues, leading to increased electricity bills in no time.
Now that we realize how insanely significant those air vents are, we must learn to wash them thoroughly!
How To Clean Air Vents in Refrigerator? A Complete Guide
Most newer refrigerator models have air vents that can be detached and removed. On the other hand, some older refrigerator models may include non-removable vents. But don’t worry; we will teach you some cleaning hacks considering both situations.
Cleaning Guideline for Removable Vents
Most air vents are put together with clips, so you’ll have to take out the pins first and then carefully detach the vents. After you have separated the vents from the refrigerator, use any of the three methods to clean your vents:
The Classical Method: If you were anticipating a complicated method that would go right above your head, you’re wrong. Cleaning air vents can be as simple as combining soap and water. Wash the vents in your kitchen sink with liquid soap or dishwasher.
You can also leave the vents submerged in a bowl of hot water with soap, soak them for 30 minutes, and gently scrub them all over the surface for better results.
For Moldy Vents: Well, now, this one might be a complicated process, but it’s also worth it. If you have moldy vents full of germs and a slimy texture, follow these steps to clean –
- You’ll have first to wear a pair of gloves.
- Now, carefully take out the vents from under/back of the fridge and submerge them in a solution of water (one cup), baking soda (half a tablespoon), and laundry detergent (one tablespoon). Soak the vents in this solution for an hour or so.
- Afterward, grab a clean rag or a sponge, dip it in hot water, and put a few drops of liquid soap, too, then thoroughly wipe all over the surface with the cloth. You can also use a brush to scrub off any stuck-on dirt patches.
- Lastly, rinse the vents with warm water for 2-3 minutes. For better effective results, you can also use a disinfectant such as an antibacterial spray as the final step to sanitize your vents.
For Grimey and Rusty Vents: If you have grimy and rusty vents. Follow these steps to clean them –
- We need to start with preparing a mixture of baking soda and vinegar (the ratio here should be 1:2). Put ½ cup of baking soda and one full cup of vinegar in a container, mix the solution well and soak the air vents in it for 30-45 minutes. This mixture of baking soda and vinegar will react and release carbon dioxide, which is said to be quite effective in eliminating grimy and rusty stains.
- Afterward, use a cleaning brush to scrub off the grime, and for the last step, you can give it a final wash with liquid soap.
If you don’t have vinegar readily available, you can pair the baking soda with lemons (the ratio of ingredients should be the same). Although this is a hack for cleaning ovens, this concept also works for fridge air vents.
Cleaning Guideline for Non-Removable Vents
You can book an appointment with professional cleaning service providers if the air vents are permanently attached to your refrigerator without taking them out and if you’re too lazy to go through the hassle yourself.
However, if you’re up for DIY solutions, we’ve got your back! To be on the safe side, you must unplug the power cord from the refrigerator first and then go with any of the methods below to clean the vents:
Wiping With A Rag: If your vents are covered in dust particles, nothing serious, you can vacuum the dirt particles. Or you can tap the vents using a dry piece of cloth.
However, if the surface has a weird slimy or sticky texture, put a few drops of liquid soap on a damp cloth for a thorough cleaning. Do not pour water all over or spray water. Just use another dry rag to get rid of the soapy feel.
For Rusty Vents: You should make vinegar and baking soda paste as previously suggested. Don’t get scared if it foams a little. You can also use some lemons to scrub. The only change you should make this time is to use a damp cloth to wipe and clean instead of washing with tap water in the sink.
For Moldy Vents: If you have a moldy non-removable vent in your refrigeration, follow these steps to clean –
- Start by making a thick paste of water, baking soda, and detergent powder. To ensure the consistency of a paste, you should use ⅓ amount of water compared to the other ingredients.
- Next, wear some gloves and take a cleaning toothbrush in hand. Dip it in the paste and use the brush to scrub off the mold or dirty patches of germs. Use clean rags to wipe when necessary. Lastly, remember to use an antibacterial sanitizer for the final finishing touch.

Additional Tips for Maintaining Cooling Efficiency
To keep your refrigerator running efficiently, consider the following tips:
- Keep the refrigerator away from direct sunlight and heat sources.
- Ensure proper ventilation around the refrigerator.
- Avoid overloading the fridge with items.
- Regularly check and adjust the temperature settings.
- Clean spills and stains promptly to prevent odors.
Final Thoughts
We hope now you’re confident enough to clean the air vents of your refrigerator by yourself. The air vents form a crucial fridge component that most people ignore when cleaning since they are located at the back. Remember, you need more than simply washing the drawers and trays inside the fridge and wiping the external surface of your refrigerator; you must also clean the condenser coils, drip pan, water filter, and, of course, the air vents!